
Exterior house painting deals with weather exposure, surface prep challenges, and durability requirements that indoor painting simply doesn’t face. Skip the prep work here, and even the best paint quality won’t hold up past a single monsoon season.
Step 1: Inspect and Repair the Surface First
Quick answer: Before any exterior house painting begins, inspect walls for cracks, peeling paint, and dampness — repairing these issues first is essential, since painting over damaged surfaces leads to the new paint failing within months.
Cracks should be filled with appropriate exterior filler and allowed to cure fully before any paint touches the surface.
Why Paint Color Decisions Feel So Hard
Step 2: Clean the Exterior Walls Thoroughly
- Pressure wash or scrub down accumulated dust, algae, and grime
- Allow walls to dry completely — painting over damp surfaces causes peeling later
- Remove any loose, flaking old paint with a scraper before proceeding
Step 3: Choose the Right Primer
Exterior surfaces need a primer suited to the wall material (cement, brick, or previously painted surfaces). Skipping primer, especially on bare cement, leads to uneven paint absorption and patchy results.
Step 4: Select Weather-Resistant Paint
Exterior house painting should always use paints specifically formulated for outdoor exposure — these include UV resistance and waterproofing properties that indoor paints simply don’t have.
Step 5: Apply Paint in the Right Weather Conditions
- Avoid painting during direct, intense heat, which causes paint to dry too fast and crack
- Avoid painting right before expected rain — freshly applied paint needs time to cure
- Early morning or late afternoon typically offers ideal painting conditions
Step 6: Use Proper Technique for Even Coverage
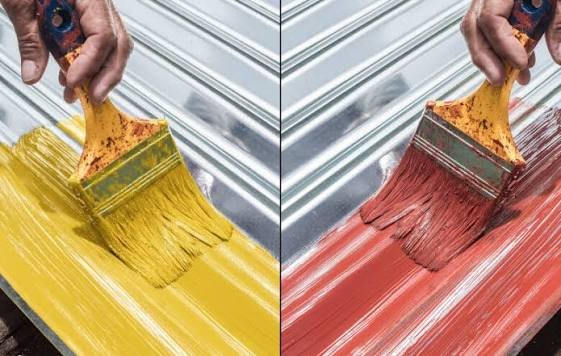
Apply paint in consistent, overlapping strokes rather than random patches. Two coats generally give better, more even coverage than trying to achieve full opacity in a single thick coat, which often leads to drips and uneven texture.
Step 7: Pay Attention to Detail Areas
Window frames, edges near the roofline, and corners often get rushed or skipped entirely. These areas are actually more exposed to weather damage and deserve careful, deliberate attention during the painting process. [link to related guide on paint color ideas here]
Step 8: Allow Proper Curing Time Before Judging Results
Exterior paint often looks slightly different once fully cured compared to right after application. Give it the manufacturer’s recommended curing period before deciding if a touch-up is needed.
FAQ
Q1: How often should exterior house painting be redone? Most exteriors need repainting every 5-7 years, though this varies based on climate exposure and paint quality used.
Q2: What’s the biggest mistake in exterior house painting? Skipping proper surface preparation and cleaning, which causes new paint to peel or fail much sooner than expected.
Q3: Can exterior painting be done during monsoon season? It’s best avoided — paint needs dry conditions to cure properly, and monsoon humidity significantly affects the final result.
Q4: Is primer really necessary for exterior house painting? Yes, especially on bare cement or previously unpainted surfaces, since it ensures even paint absorption and better adhesion.
Q5: How many coats of paint are recommended for exteriors? Two coats are generally recommended for even coverage and better long-term durability compared to a single thick coat.
Conclusion
A successful exterior house painting project depends far more on preparation than the actual painting itself. Inspect, clean, repair, and prime properly before a single drop of paint goes on, and the final result will hold up through several monsoon seasons rather than fading within months.
Suggested Alt Text:
- “Worker painting exterior house wall with roller”
- “Freshly painted house exterior with weather-resistant paint”